HOME » FUTA-Q Technology » Inspection equipment » PipeFiberoscope, the non-destructive inner surface inspector
PipeFiberoscope, the non-destructive inner surface inspector
PipeFiberoscope, the non-destructive inner surface inspector
update :
PipeFiberscope, the non-destructive inner surface inspector
In medical analysis, the residual specimen inside a dispensing nozzle may fluctuate the sampling quantity, resulting in inaccurate analysis. For avoiding this problem, the inner surface of the nozzle is required to be non-scratched and unrelieved for preventing adherence of residues. Measuring an inner surface roughness using an existing roughness tester requires to cut the product in half, meaning to conduct a destructive test, so that the test should be a sampling inspection.
We have newly developed a non-destructive roughness inspector, PipeFiberscope, which can measure the roughness as well as detect scratches or residues on the inner surface of a nozzle without cutting it open. This enables us to conduct a total number inspection of nozzles.
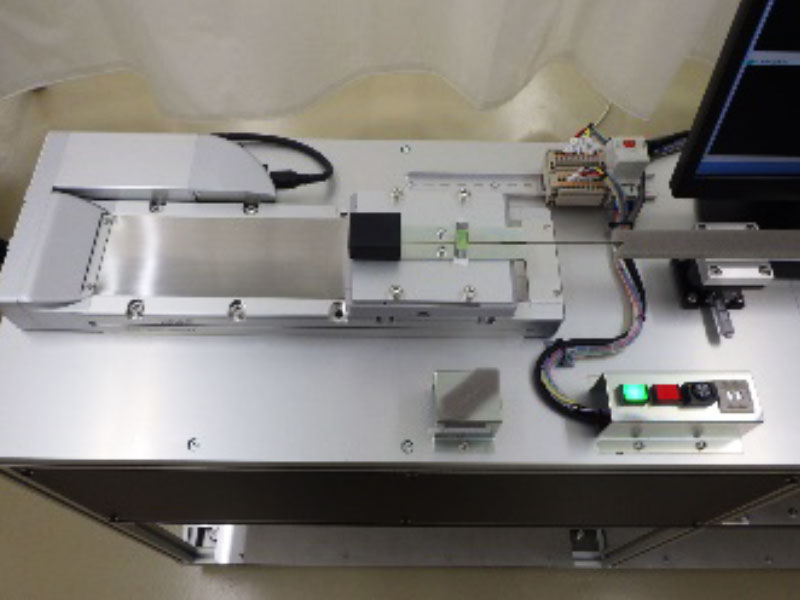
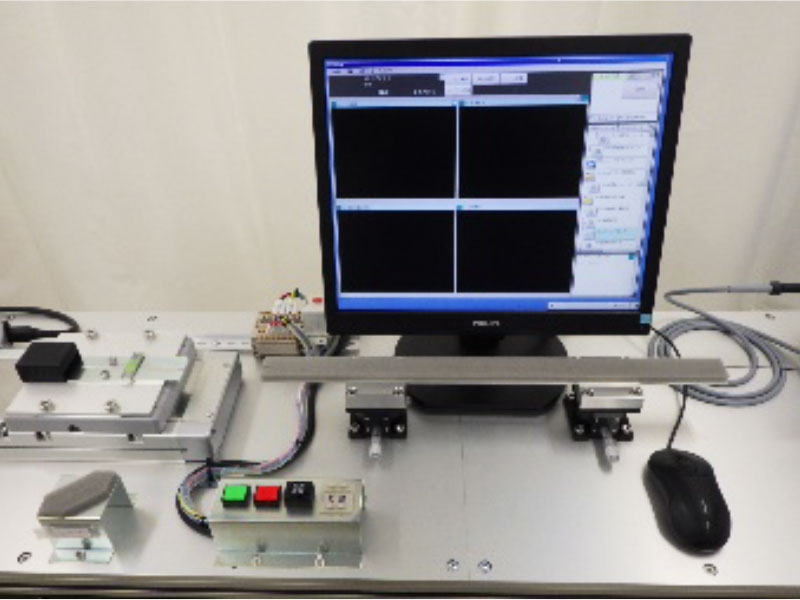
Overview of the inspector
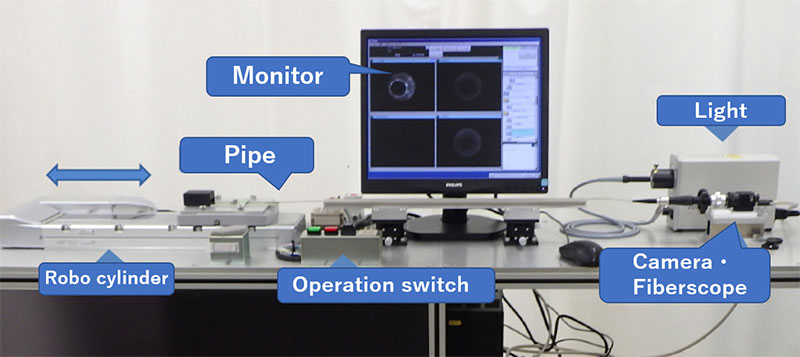
Specifications of the inspector
- ● Measurable pipe’s ID: 0.45 – 2.00 mm
- ● Maximum pipe length: 250 mm
- ● Fiber scope diameter: 0.35 – 1.2 mm (changeable for a pipe diameter)
- ● Tester size: 1200 mm wide, 950 mm high, 400 mm deep
- ● Camera: CCD with 300 thousand pixels in monochrome.
- ● Variable parameters: feed pitch, number of measuring times.
- ● Measuring time: approx. 2 seconds per one pitch including feeding time.
Measurement result
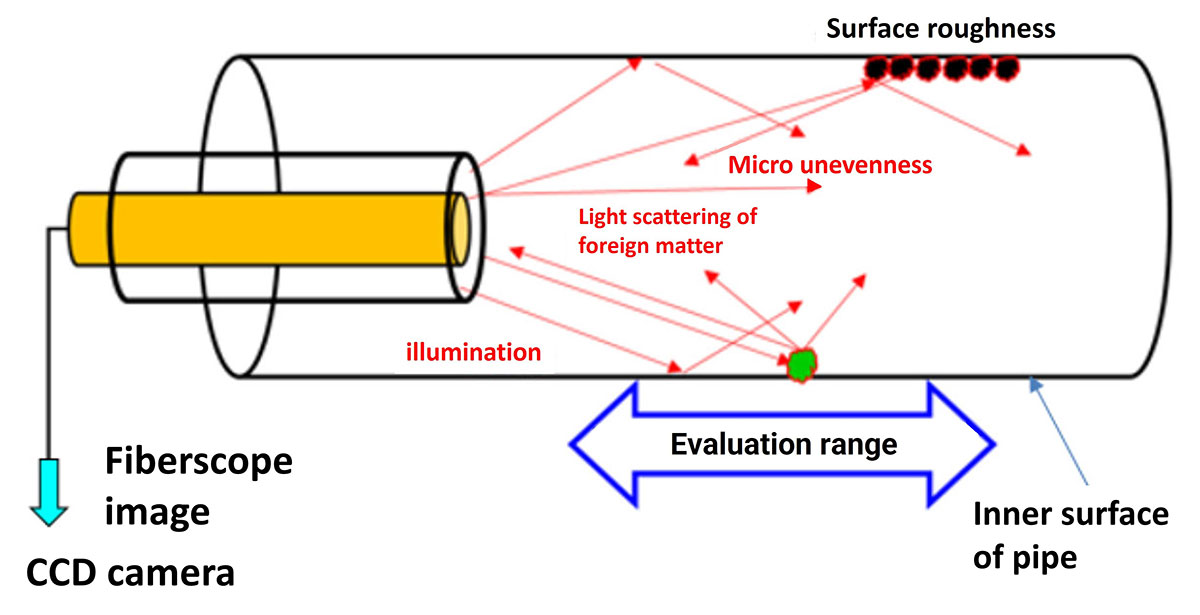
The images of insides of pipes captured by the inspector (right) show that the reflected lights vary according to the inner surface roughness. Existing of scratches or residues makes the reflection brighter so that the image brightness implies the surface quality. For the use in volume production, the data and images are stored into a server to be traced afterward.
 Cleaner (toward mirror surface)
【non-polished】
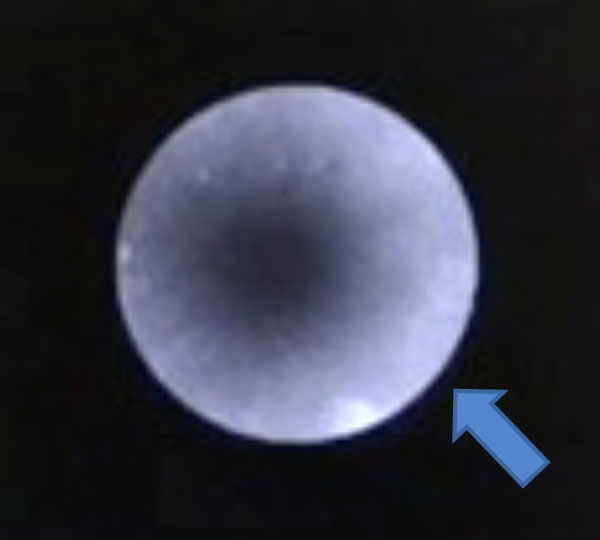
shining white
【 Ra 0.13 】
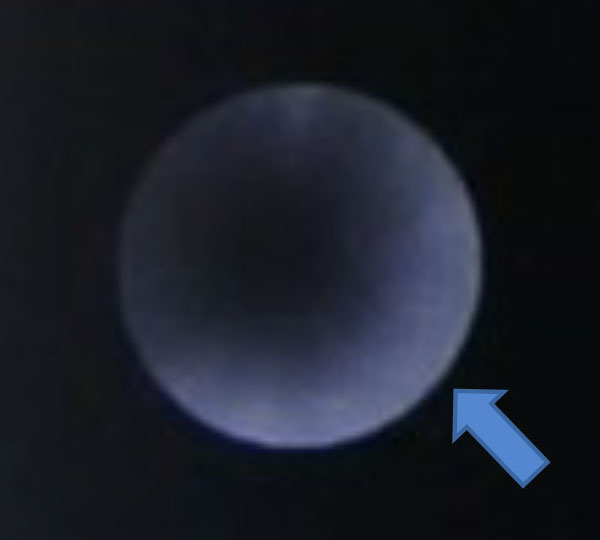
dimly lit
【 Ra 0.06 】

almost dark
Operation of the inspector
- 1. Insert a fiber scope into a pipe, and place the pipe in a test bed.
- 2. Push the start button to feed the fiber scope in 5 mm followed by the predetermined number of times of image capturing (17 times at max.).
- 3. The roughness converted from the image brightness by collated with the database is displayed on the monitor.
- 4. If scratches or residues are found, the buzzer goes off and the monitor shows the image.
- 5. The pipe is removed by hand from the bed, followed by pressing of the reset button to return the robot cylinder back to the home position.
Video clip of PipeFiberscope
● FUTA-Q HP
https://futaku.co.jp/pr/arasamiilmovie/
● YouTube
https://youtu.be/omBKTCXNIFY
Development history of PipeEndoscope
Introduction
Through our main businesses including precision and micro-processing, such as laser processing and small-size pipe/nozzle manufacturing, we have responded to the diverse needs from our clients, especially in the medical and analytical fields. Based on our manufacturing technologies cultivated since our founding in 1917, we are also engaged in the development and designing of core units at the request of major manufacturers, universities and research institutes.
We are also developing original equipment with the aim of improving in-house productivity and enhancing technological competitiveness. In this process, our original “Non-destructive Inner Surface Inspector for Small Diameter Pipes” has been developed as part of our industry-university collaboration project.
Problems with conventional roughness measurement of an inner surface of a pipe
In the medical and analytical fields, the roughness of the inner-surface of small-size pipes (smaller than 1.5 mm in diameter) is a critical issue affecting the analysis results. Using our sophisticated polishing technology, we can finish the inner surface of a small-diameter pipe to the required roughness. Currently, the minimum inner diameter that we can control the roughness is 0.5 mm.
So far, however, a destructive inspection has been only way to measure the roughness of the inside surface of a pipe, which uses a surface roughness measuring instrument after exposing the measuring surface by half-shaving the pipe. For this reason, the roughness requested by customers could only be guaranteed through a sampling inspection, meaning that the uninspected pipes arrived at the customer’s hand. The development of a non-destructive measurement method for inner surface roughness has been indispensable for the total number assurance.
Industry-university collaboration project
During the period from December 2018 to November 2019, Kansai University and FUTA-Q worked on the theme of establishing a mass production method for high-quality, high-performance (anti-pollution, high-precision, and quantitative) nozzles and needles, by taking full advantages of the respective strengths of each group. As one of the sub-themes, we worked on the establishment of a non-destructive measurement method for internal surface roughness.
The world’s first non-destructive inner surface roughness measuring instrument for pipes
The basic measuring principle is based on the calculation of a surface roughness from the brightness information of the image in the relation with the correlation between brightness values and actual roughness measured in advance. The brightness is captured by the fiberscope having a smaller diameter than that of a measured pipe (0.5 – 1.5 mm in diameter) which is inserted into the pipe.
The principle came from one of our factory workers who conceived of the idea that “with the same light source and illuminance, rougher surfaces look brighter and smoother surfaces darker.” during observation of the inner surface of pipes using another in-house device. The development project started with this hint. With a helping from Prof. Aoyagi in the Faculty of system engineering of Kansai University, we have finally succeeded in quantifying the image data using AI analysis in the industry academia cooperation.
For better operability, the equipment is controlled with a computer program. When a pipe is set on the automatic control stage, the pipe is fed automatically by the moving stage and the inner surface image is captured, followed another feeding and image capturing repeatedly. Initially, the surface roughness was calculated after transferring the image data to the image processing software. We have, however, improved the image processing method in which the calculation is simultaneously conducted in the stage controller so that the roughness data can be obtained to be displayed in real time.
The non-destructive inner surface inspector based on this principle is the world-first measurement device for inner surface of small pipes. We have applied for the patent for intellectual property protection.
【Acknowledgements】
We would like to express our sincere gratitude for tremendous cooperation and technical instructions by Kansai University.

